
Brave has introduced a built-in Email Alias feature to prevent cross-website tracking and reduce spam. This lets users create unique email addresses directly and use them across multiple websites. The email alias feature protects users’ privacy because their real email address stays hidden from the websites they register with using the alias. This article covers all important highlights you need to know about the new Email Alias feature.
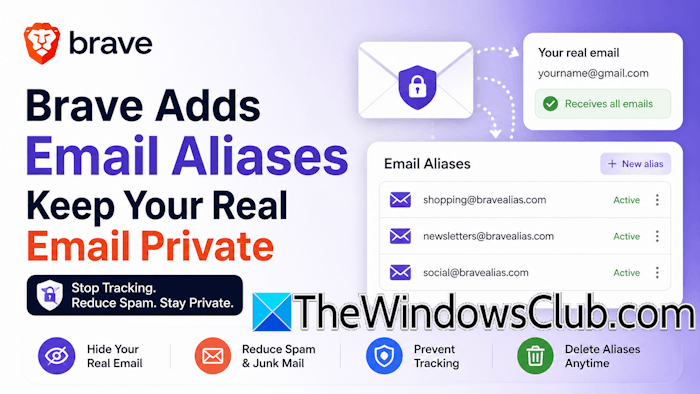
Brave browser adds Email Aliases to keep your real Email private
Email Aliases are the secondary email addresses that users can create for temporary use. These email aliases are linked to users’ original emails, so all emails received on the aliases are forwarded to the user’s original email account. Brave browser adds email aliases to keep your real email private. Now, you can sign up on different websites using the temporary email addresses you create with Brave.
When you sign up on a website using your original email address, that email address may be shared with advertisers. For example, if you register on a website to buy shoes and that website uses Meta ads, your email address may be uploaded to Meta’s server-side audience matching tool. If the registered email address matches the one in Meta’s database, Meta immediately learns that you are interested in buying shoes. As a result, you may start getting promotional emails. Brave’s email alias feature helps resolve this issue because it keeps your original email address hidden from websites. Also, you can delete an email alias anytime to stop getting spammy or promotional emails.
How to use Email Aliases in Brave browser
To use email aliases in Brave, you need to create a Brave account. The following instructions will guide you through this:
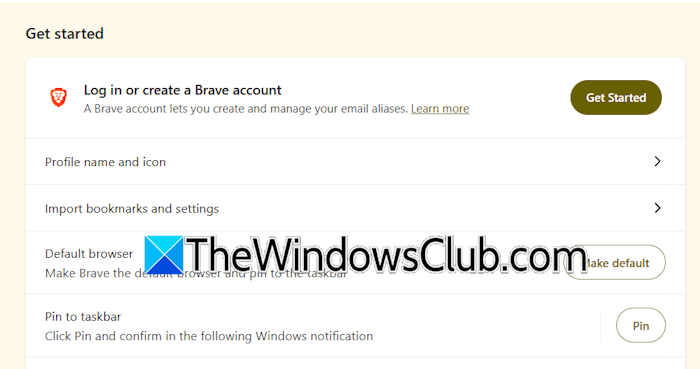
- Click the burger menu on the top right side in Brave and select Settings.
- Select the Get Started tab on the left.
- Now, click the Get Started button and then click Create a Brave account.
- Use your original email address to create a Brave account. All the emails received on the Email aliases will be forwarded to your original email address.
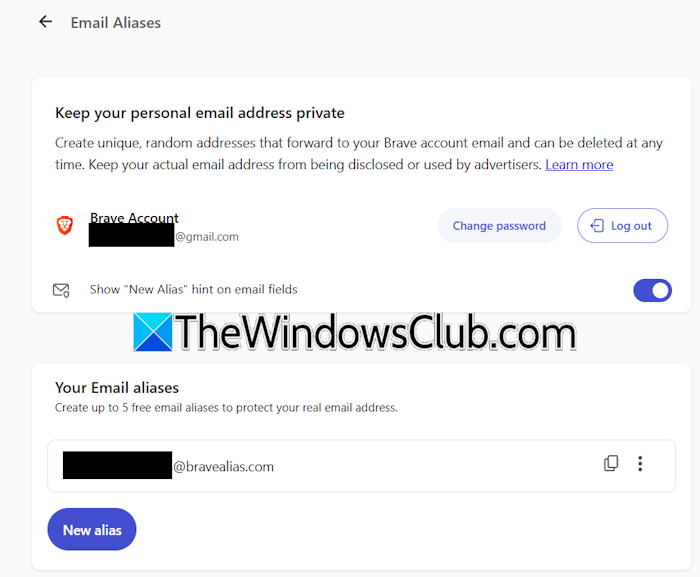
After creating an account, type email aliases in the search box in Brave settings. Select the Email Aliases option from the search results. Alternatively, open a new tab in Brave and go to “brave://settings/email-aliases“. Now, click New alias. Brave will automatically generate an email alias for you. You can generate another by clicking on the Regenerate button. You can use this email alias on any website. All the emails received on that email alias will be automatically forwarded to your real email address registered with Brave.
You can also create an email alias directly on a website. For that, visit a website and click the sign up link. Now, right-click in the email address box and select New Email Alias. Brave allows you to create up to 5 free email aliases to protect your real email address.
Brave’s Email Alias feature is a useful privacy tool that keeps your real email address hidden when signing up for multiple websites. This helps you reduce unwanted emails and limit tracking. If you no longer need an alias, you can delete it. For more information, you can visit Brave’s official website.
